Best Homemade Almond Milk Recipe
Making your own almond milk at home is a simple and rewarding process that allows you to enjoy a fresh, creamy, and healthier alternative to store-bought almond milk. With just a few ingredients, you can create a delicious, all-natural almond milk that is free from preservatives and added sugars. Whether you’re adding it to your morning coffee, using it in smoothies, or enjoying it with your favorite cereal, this Best Homemade Almond Milk recipe is incredibly versatile and easy to make.
This homemade almond milk is naturally rich, creamy, and smooth. The best part is that you can control the level of sweetness and flavor. With just a handful of ingredients, you can create a dairy-free milk substitute that’s packed with nutrients and free from any unwanted additives. Plus, it’s a great option for those with lactose intolerance or anyone looking for a vegan-friendly option.
Tools to Use:
- Blender or food processor
- Nut milk bag, cheesecloth, or fine mesh strainer
- Large bowl
- Glass jar or bottle for storage
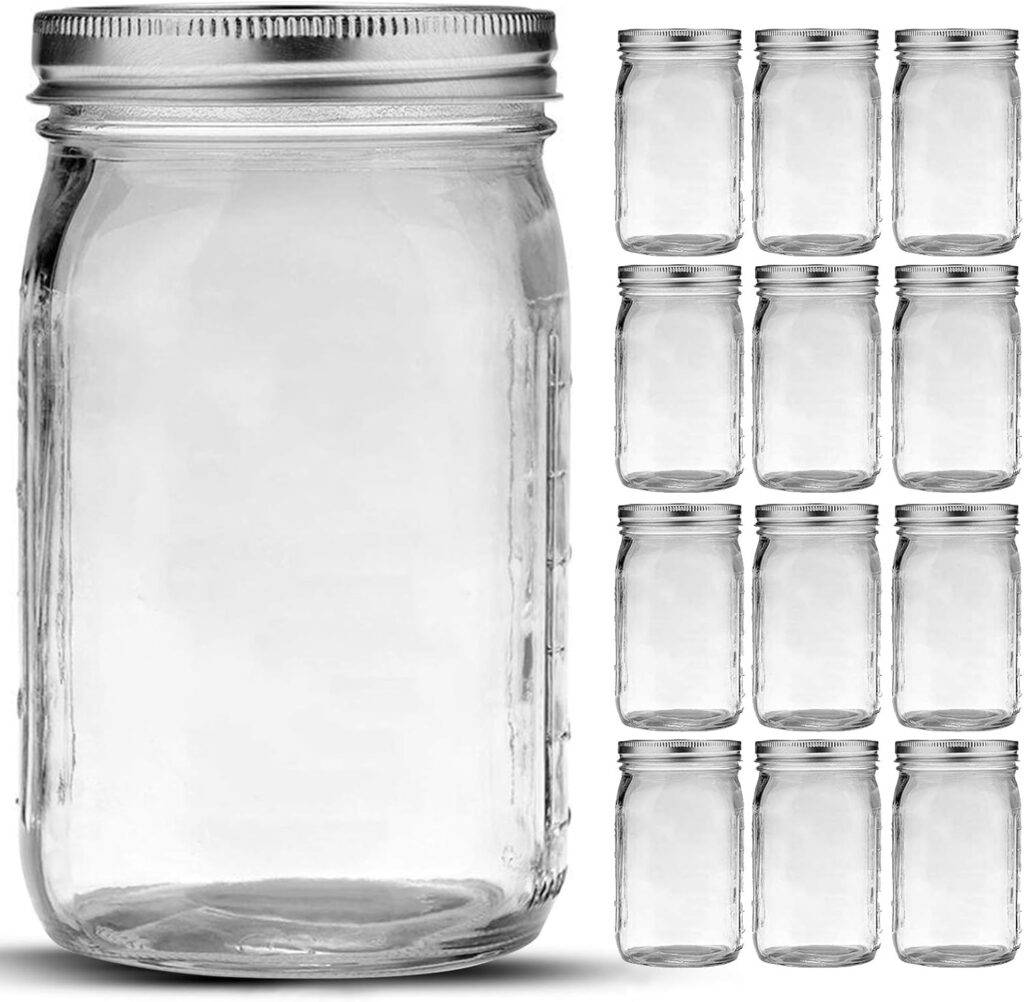
Get this set of mason jars to store your milk in for freshness and organization.
Ingredients:
- 1 cup raw almonds
- 4 cups filtered water (plus extra for soaking)
- Optional sweetener: 1-2 tablespoons maple syrup, honey, or agave syrup
- 1 teaspoon vanilla extract (optional)
- A pinch of salt (optional)
Instructions:
- Soak the Almonds:
- Place the almonds in a bowl and cover them with water. Let them soak for at least 12 hours (or overnight) to soften. This will help to create a smoother texture in your almond milk.
- Drain and Rinse:
- After soaking, drain the almonds and rinse them thoroughly under cold water.
- Blend the Almonds:
- Place the soaked almonds in a blender along with 4 cups of filtered water. Blend on high speed for about 2-3 minutes, or until the almonds are completely broken down and the mixture is smooth and creamy.
- Strain the Almond Milk:
- Set up a nut milk bag, cheesecloth, or fine mesh strainer over a large bowl. Pour the blended almond mixture into the strainer to separate the almond milk from the almond meal.
- Gently press down with a spoon or squeeze the nut milk bag to extract all the liquid. If using a strainer, you can also use a spoon to stir and help the liquid pass through.
- Sweeten and Flavor (Optional):
- If you’d like to sweeten your almond milk, add the sweetener of your choice, such as maple syrup, honey, or agave. You can also add vanilla extract for an extra burst of flavor and a pinch of salt to enhance the taste. Stir until well combined.
- Store the Almond Milk:
- Transfer the freshly made almond milk to a glass jar or bottle and store it in the refrigerator for up to 3-4 days. Be sure to shake the bottle before each use, as homemade almond milk can naturally separate.

Latest Recipes
- Buffalo Shrimp Pasta


- Oatmeal Cream Pie Cookies

- Chocolate Pecan Cookies

- Potatoes, Bacon, and Green Beans Casserole

- Spicy Beef and White Rice


Best Homemade Almond Milk Recipe
Equipment
- Blender or food processor
- Nut milk bag, cheesecloth, or fine mesh strainer
- Large bowl
- Glass jar or bottle for storage
Ingredients
- 1 cup raw almonds
- 4 cups filtered water plus extra for soaking
- Optional sweetener: 1-2 tablespoons maple syrup honey, or agave syrup
- 1 teaspoon vanilla extract optional
- A pinch of salt optional
Instructions
- Soak the Almonds:
- Place the almonds in a bowl and cover them with water. Let them soak for at least 12 hours (or overnight) to soften. This will help to create a smoother texture in your almond milk.
- Drain and Rinse:
- After soaking, drain the almonds and rinse them thoroughly under cold water.
- Blend the Almonds:
- Place the soaked almonds in a blender along with 4 cups of filtered water. Blend on high speed for about 2-3 minutes, or until the almonds are completely broken down and the mixture is smooth and creamy.
- Strain the Almond Milk:
- Set up a nut milk bag, cheesecloth, or fine mesh strainer over a large bowl. Pour the blended almond mixture into the strainer to separate the almond milk from the almond meal.
- Gently press down with a spoon or squeeze the nut milk bag to extract all the liquid. If using a strainer, you can also use a spoon to stir and help the liquid pass through.
- Sweeten and Flavor (Optional):
- If you’d like to sweeten your almond milk, add the sweetener of your choice, such as maple syrup, honey, or agave. You can also add vanilla extract for an extra burst of flavor and a pinch of salt to enhance the taste. Stir until well combined.
- Store the Almond Milk:
- Transfer the freshly made almond milk to a glass jar or bottle and store it in the refrigerator for up to 3-4 days. Be sure to shake the bottle before each use, as homemade almond milk can naturally separate.
Tips for Cooking:
- Use a High-Powered Blender: A high-speed blender will give you the smoothest almond milk. If you don’t have one, a regular blender will still work, but you may need to blend for a bit longer.
- Save the Almond Meal: Don’t throw away the almond meal! You can dry it out in the oven and use it in baked goods, oatmeal, or smoothies.
- Adjust Sweetness: You can adjust the sweetness of your almond milk based on your personal preference. For a lighter taste, skip the sweeteners, or add more if you prefer a sweeter flavor.
- Flavor Variations: Experiment with different flavor additions, such as a dash of cinnamon, cocoa powder, or a small amount of almond extract.
Why You Should Try This Recipe:
Making almond milk at home is not only healthier but also cost-effective. It’s a great alternative for those who are looking to reduce sugar or preservatives in their diet, and it tastes fresher than store-bought versions. You’ll also love the smooth texture and versatility—perfect for adding to smoothies, lattes, baking recipes, or just enjoying on its own.
Now that you know how to make the Best Homemade Almond Milk, you’ll never want to go back to the store-bought versions! It’s simple to prepare, customizable, and incredibly delicious. Enjoy it in your favorite recipes or just pour a glass and savor the goodness. Once you try it, you’ll understand why homemade almond milk is a game-changer!